Step 6: Override the Layout
Learn how to customize your InForm interface by changing group names and icons to create a more user-friendly experience.
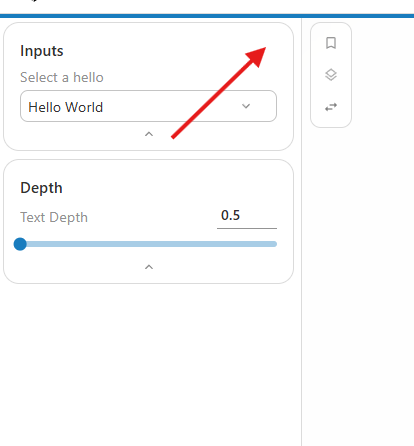
Step 1: Access Advanced Edit
- Locate the Inputs group in your interface (usually on the left side)
- Hover your mouse of the right top to reveal the Advanced Edit button.
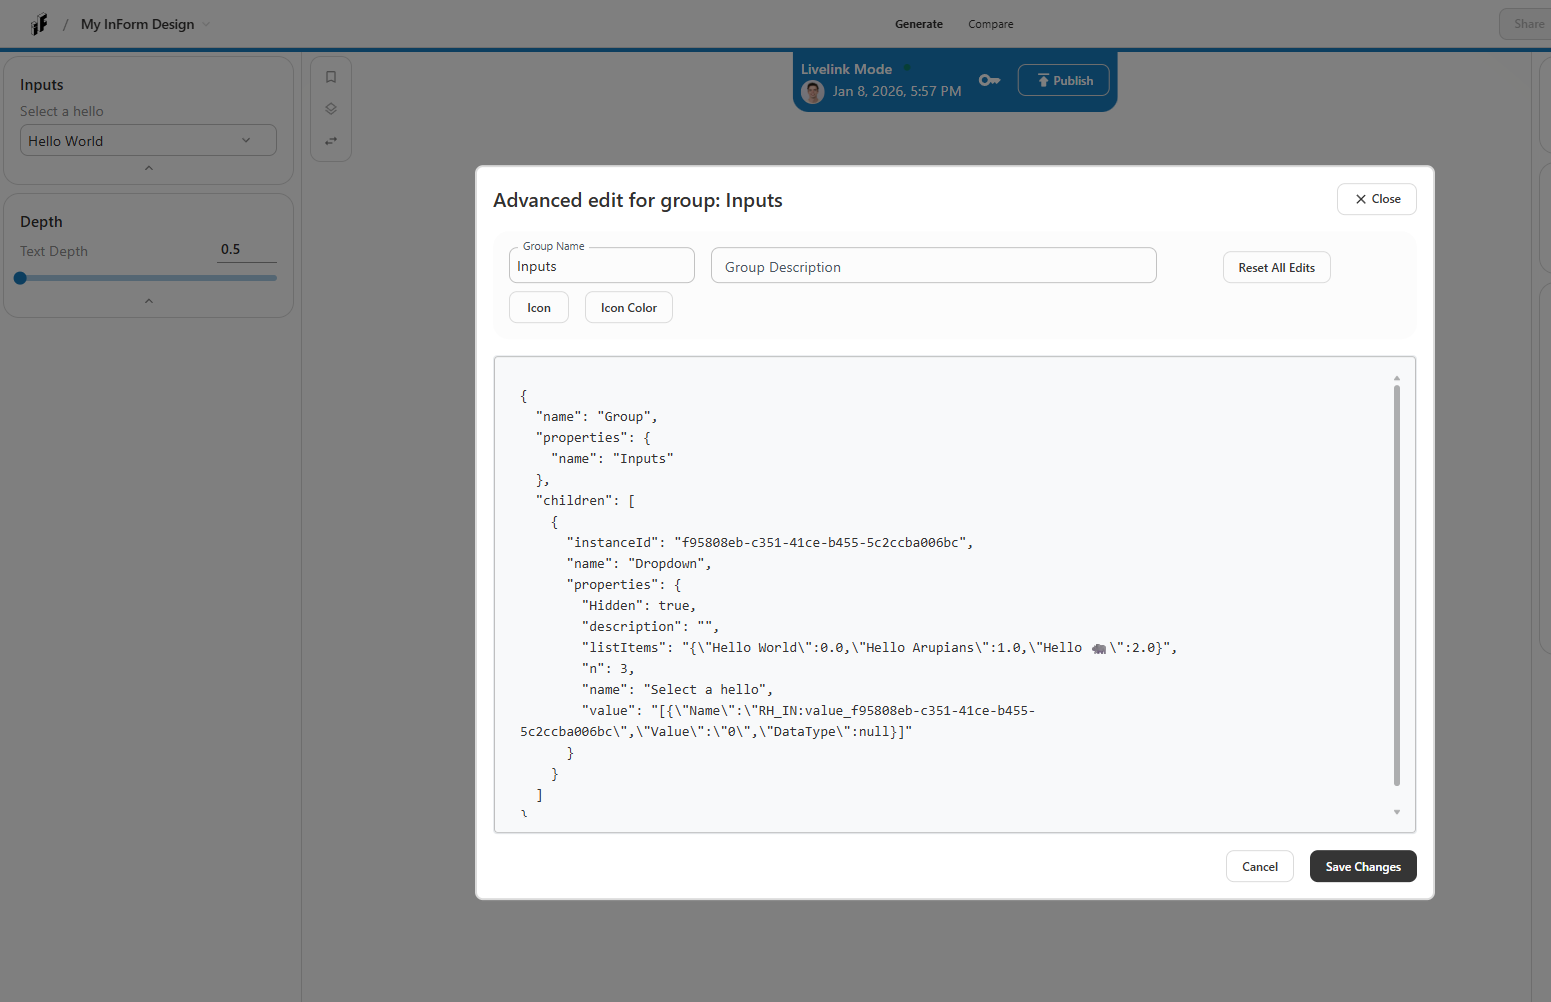
The Advanced Edit dialog will open, showing:
- Text fields for Group Name and Group Description at the top
- Tabs for Icon and Icon Color
- A large JSON editor below
Step 3: Change the Group Name
Let's make the group name more descriptive:
- Find the Group Name field at the top of the dialog
- Clear the current text (
"Inputs") - Type a new name, for example:
"Design Parameters"
Step 4: Select an Icon
- Click on the Icon tab
- Browse through the available icon options
- Select an icon that represents your group (e.g., sliders, settings, building)
- The icon preview will update
Popular icon choices:
- Settings - for general parameters
- Sliders - for numeric inputs
- List - for dropdowns and selections
- Building - for architectural parameters
Step 5: Customize Icon Color (Optional)
- Click on the Icon Color tab
- Choose a color from the palette or enter a hex color code
- Select a color that matches your branding or creates good visual hierarchy
Color suggestions:
- Blue (
#0066cc) - professional, trustworthy - Green (
#22c55e) - positive, go-ahead - Orange (
#f97316) - attention, important - Purple (
#a855f7) - creative, unique
Step 6: Save Your Changes
- Review your changes in the preview (if available)
- Click the Save Changes button at the bottom right
- The dialog will close and your changes will be applied
You should now see your group with the new name and icon!
The overridden layout will persist over versions. Even if you upload a new model, the layout of this model will be overridden.
Step 7: Add a Description (Optional)
Let's add helpful context for users:
- Click the Advanced Edit button again
- Find the Group Description field
- Add a short description, for example:
"Adjust these parameters to explore different design options""Configure your building's basic properties"
- Click Save Changes
The description will appear below the group name, helping users understand what the controls do.
Advanced: Editing JSON Properties
For even more customization, you can edit the JSON directly:
Example: Adding Background Color
In the JSON editor, you can add a background color to your group:
{
  "name": "Group",
  "properties": {
    "name": "Design Parameters",
    "description": "Adjust these settings to explore variations",
    "backgroundColor": "#f0f4f8"
  },
  "children": [
    // ... your inputs here
  ]
}
What You Can Customize in JSON:
name- Group display namedescription- Help text below the nameicon- Icon identifiericonColor- Hex color code for the iconbackgroundColor- Hex color for the group panel background
Always click Save Changes after editing JSON. If you make a mistake, use Reset All Edits to restore defaults.
Troubleshooting
Changes Don't Appear
- Make sure you clicked Save Changes
- Refresh your browser page
- Check that you're in Edit Mode
Invalid JSON Error
- Check for missing commas or brackets
- Use the Reset All Edits button to start over
- Copy a working example and modify it carefully
Can't Find Advanced Edit Button
- Ensure you're in Edit Mode (not View Mode)
- Look for a gear icon (⚙️) or three dots (...) near the group header
- Try hovering over the group header to reveal edit controls
What's Next?
Now that you've customized your layout, you can:
- Customize other groups in your interface
- Add more advanced JSON properties
- Organize groups in a logical order
- Test your interface with real users
Next Step
With your layout customized, you're ready to publish and share your design with others.